Configuring OpenDNS for Enhanced Home Network Security

In today’s interconnected world, securing your home network is paramount. One way to bolster your network’s security is by configuring OpenDNS, a cloud-based Domain Name System (DNS) service that provides a layer of protection against malicious websites and content using OpenDNS Filtering. This guide will walk you through the process of setting up OpenDNS on your small lab or home network and explain why it’s a smart move.
Why Configure OpenDNS for Your Home Network?
1 Enhanced Security: OpenDNS offers advanced threat protection by blocking access to known malicious websites and domains. This adds an extra layer of defense against malware, phishing attacks, and other online threats.
2 Content Filtering: With OpenDNS, you can filter content categories to ensure your network remains family-friendly. You have the flexibility to block categories like adult content, gambling, and social media, helping you maintain a safe online environment.
3 Customization: OpenDNS allows you to customize block pages and even upload your logo. This provides a personal touch to block messages and phishing alerts, making it easier to identify and address issues.
4 Visibility: By configuring OpenDNS, you gain access to valuable insights through logs and statistics. This visibility helps you understand your network’s activity, making it easier to spot any unusual or potentially harmful behavior. Now that we understand the importance of OpenDNS, let’s dive into the configuration process.
Configuring OpenDNS
Step 1: Sign Up for OpenDNS
- Visit https://opendns.com
- Click on “Consumer” and select “Learn More.”
- Sign up under the “OpenDNS Home” option.
- Create your account and confirm your email address once you receive the initial email.
Step 2: Obtain OpenDNS Nameservers
You’ll need the OpenDNS nameservers to configure your router.
- After signing up, you’ll be directed to OpenDNS Setup Guide, where you’ll find the two OpenDNS nameservers:
- 208.67.222.222
- 208.67.220.220
Step 3: Update Your Router’s DNS Servers
Now, let’s configure your router to use OpenDNS.
- Log into your router.
- Navigate to “My Network” or “Network Connections,” then select “Broadband Connections (Ethernet/Coax).”
- Scroll to the bottom and click “Settings.”
- In the DNS Server Section, choose “Use the following DNS Server Addresses” and enter the two OpenDNS addresses (208.x.x.x).
- Alternatively, you can use one OpenDNS address and set the second DNS server to your Pi-Hole address (if configured).
- Click “Apply.”
Step 4: Verify OpenDNS Configuration
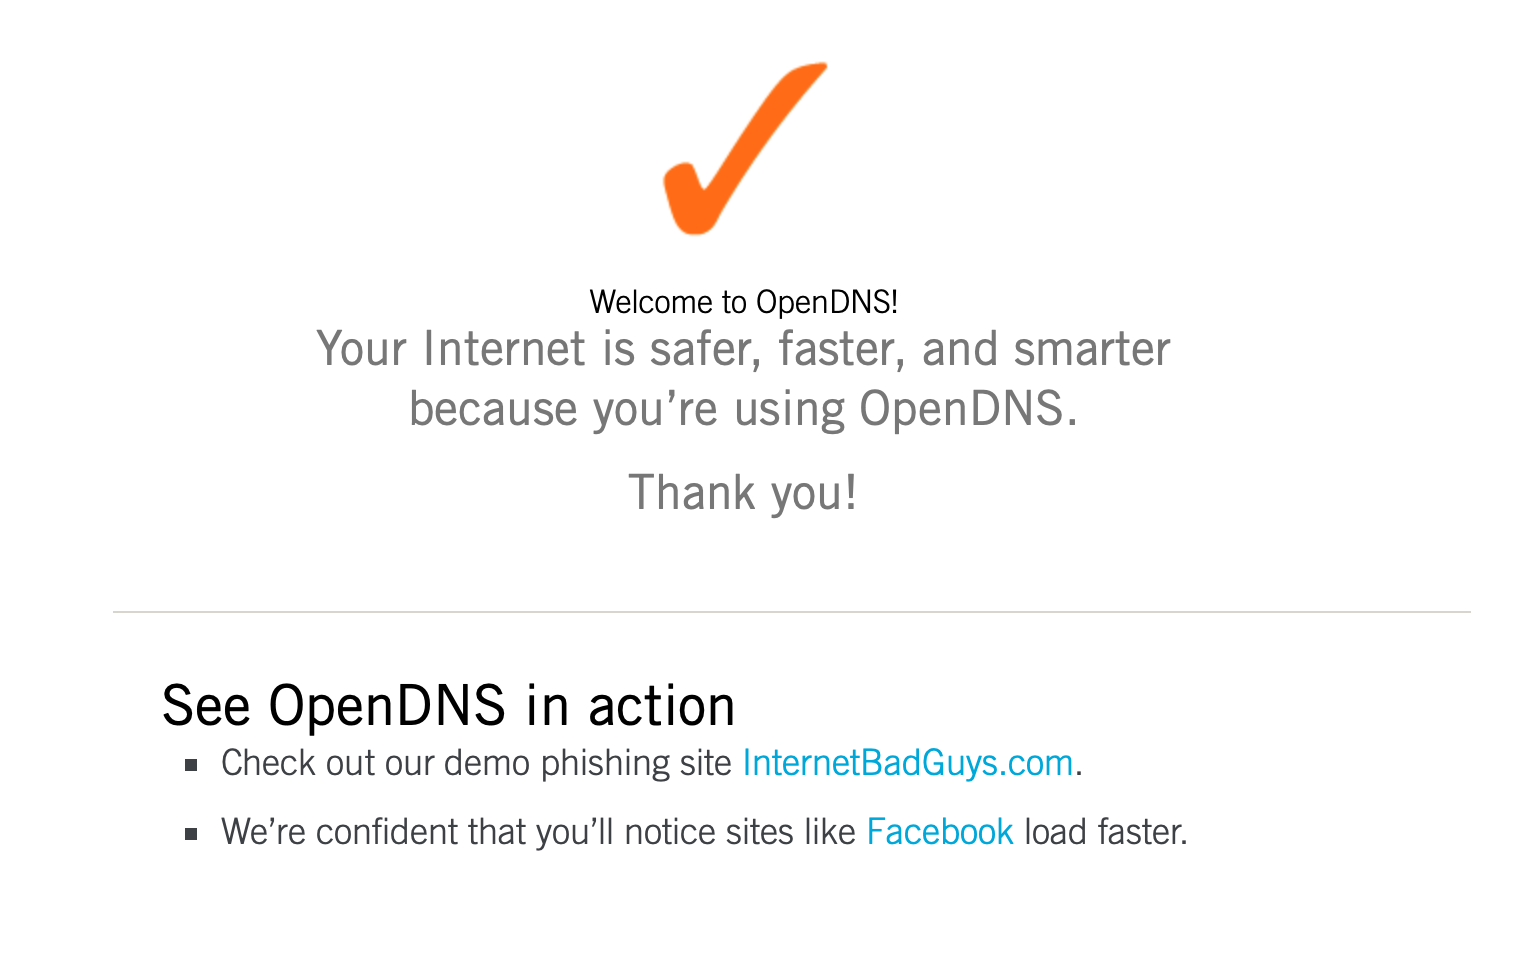
- Visit https://welcome.opendns.com to check if your network is connected to OpenDNS servers.
If configured properly, you should see the below image.

Step 5: Customize OpenDNS Settings
- Visit https://dashboard.opendns.com, log in, and click “Add a network” to add your network.
- Give it a friendly name (e.g., “OpenDNS-Lab”).
- Click on your network’s IP address to access more settings.
- Under “Settings/Web Content Filtering,” enable “Low” web content filtering initially. Adjust these settings as needed.
- In the “Manage individual domains” section, specify domains you want to block.
- Navigate to “Settings/Security” and enable “Block Internal IP address” to prevent DNS Rebinding attacks.
- Under “Settings/Customization,” you can upload a new logo and personalize block pages and phishing alerts with a special message.
- Click “Apply.”
- Finally, navigate to “Settings/Stats and Logs” and enable log collection.
With OpenDNS configured, your home network is now equipped with an additional layer of security and content filtering, helping you protect your family and devices from online threats.
Remember, a safer home network is just a few configuration steps away. Stay secure and enjoy your enhanced online experience with OpenDNS!
📝 For more information about OpenDNS, visit the OpenDNS Knowledge Base!