How to Install Tautulli on Your Synology NAS

Tautulli serves as an invaluable addition to any home network, especially for those keen on enhancing their media streaming experience. By installing and configuring Tautulli, you gain an array of benefits. Firstly, it provides a comprehensive dashboard that offers deep insights into your Plex Media Server. You can effortlessly track who’s watching what, when, and where, enabling you to tailor your media library to your audience’s preferences. This not only enhances your viewing experience but also allows you to make informed decisions about content management.
Additionally, Tautulli acts as a robust notification system, alerting you to new content additions, playback issues, or even when your favorite media becomes available. With Tautulli’s remote access feature, you can manage your Plex server from anywhere, ensuring that your media library is always up to date and accessible. Furthermore, its user-friendly interface makes it accessible for users of all levels, from beginners to tech enthusiasts.
Overall, Tautulli not only elevates your Plex Media Server but also transforms your media streaming experience, ensuring you’re always in control of your entertainment library. It’s an essential tool for those who want to get the most out of their home media network.
Tautulli is a fantastic tool for monitoring and tracking your Plex Media Server. It provides valuable insights into your media consumption habits and helps you keep tabs on your Plex server’s performance. In this guide, we will walk you through the process of installing Tautulli on your Synology NAS device, ensuring you have full control over your Plex experience.
Prerequisites
Before we dive into the installation process, ensure you have the following:
- A Synology NAS device up and running.
- Plex Media Server installed on your NAS.
- Admin access to your Synology NAS.
- Docker or container manager installed on your Synology NAS
Step 1
Go to File Station and open the docker directory. Inside the docker directory, create one new folder and name it tautulli. Be sure to enter only lowercase letters.
Step 2
Navigate to Control Panel / Task Scheduler / Create / Scheduled Task / User-defined script.
Step 3
Once you click on User-defined script a new window will open. So the following :
- General: In the Task field type in
Install Tautulli. UncheckEnabledoption. Select root user. - Schedule: Click Run on the
following datethen select “Do not repeat“. - Task Settings: Check “Send run details by email“, add your email. Next, copy and paste the below code in the Run command area. After that click OK.
docker run -d --name=tautulli \
-e PUID=1026 \
-e PGID=100 \
-e TZ=America/New_York \
-v /volume1/docker/tautulli:/config \
--network host \
--restart always \
ghcr.io/tautulli/tautulli
NOTICE : Before you execute the script, change the value numbers for PUID and PGID with your own values. In order to receive the necessary PUID and PGID information, run the id command while logged into your synology user account via the terminal
You may receive a warning pop-up message about modifying the system, click ok.
Step 4
After you click Submit on the previous step, select your Install Tautulli Task then click the Run option. You will be asked if you are sure that you want to run the task, select yes.
Step 5
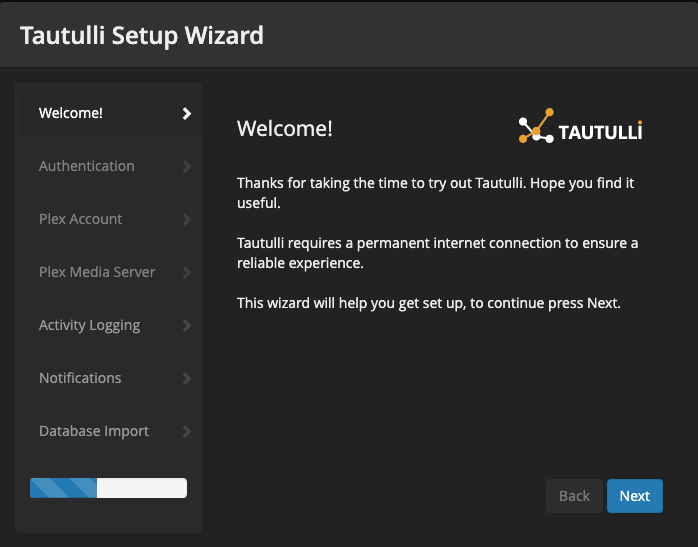
The installation may take up to a few minutes. Once completed, your browser and navigate to http://IPADDRESS:8181.
Complete the simple setup wizard and complete the configuration.

Conclusion
With Tautulli installed on your Synology NAS, you have a powerful tool at your disposal to monitor and enhance your Plex Media Server. Keep track of your media library, user behavior, and server performance with ease. Enjoy your optimized Plex experience with the insights provided by Tautulli.
📝 For more information about Tautulli, visit the Tautulli GitHub Page.