How to Install Proxmox VE on Bare Metal Machine
Proxmox Virtual Environment (Proxmox VE) is a versatile open-source virtualization platform that combines Kernel-based Virtual Machine (KVM) for virtual machines (VMs) and Linux Containers (LXC) for lightweight container-based virtualization. Whether for server consolidation or building cloud infrastructure, Proxmox VE is an excellent choice. This guide walks you through installing Proxmox VE on a bare-metal server.
Prerequisites
Before you begin, ensure you have the following:
- A dedicated server or bare-metal machine with compatible hardware.
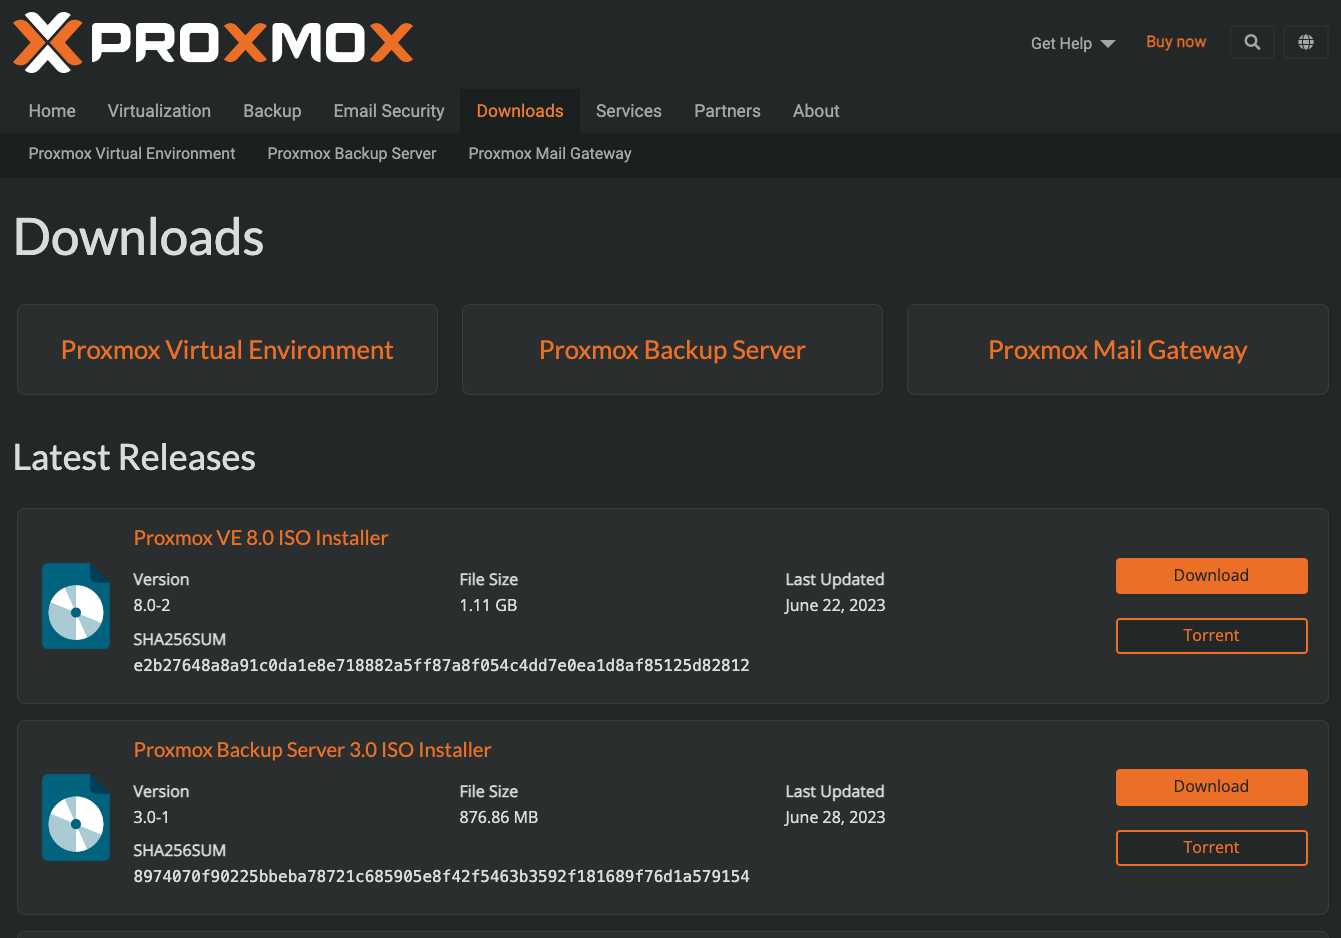
- A bootable USB drive or DVD containing the Proxmox VE ISO image. Download the latest ISO from the official Proxmox website.
- You may use rufus or balenaEtcher as options to create the bootable USB drive.
- Physical or remote access to the server for installation.
Step 1: Boot from the Proxmox VE Installation Media
- Insert the bootable USB drive or DVD into the server’s USB port or DVD drive.
- Power on or reboot the server.
- Access the BIOS or UEFI settings during the boot process to set the server to boot from the installation media. Consult your server’s documentation for specific instructions.
- Save the changes and exit the BIOS or UEFI settings.
- The server will now boot from the Proxmox VE installation media.
Step 2: Proxmox VE Installation Wizard
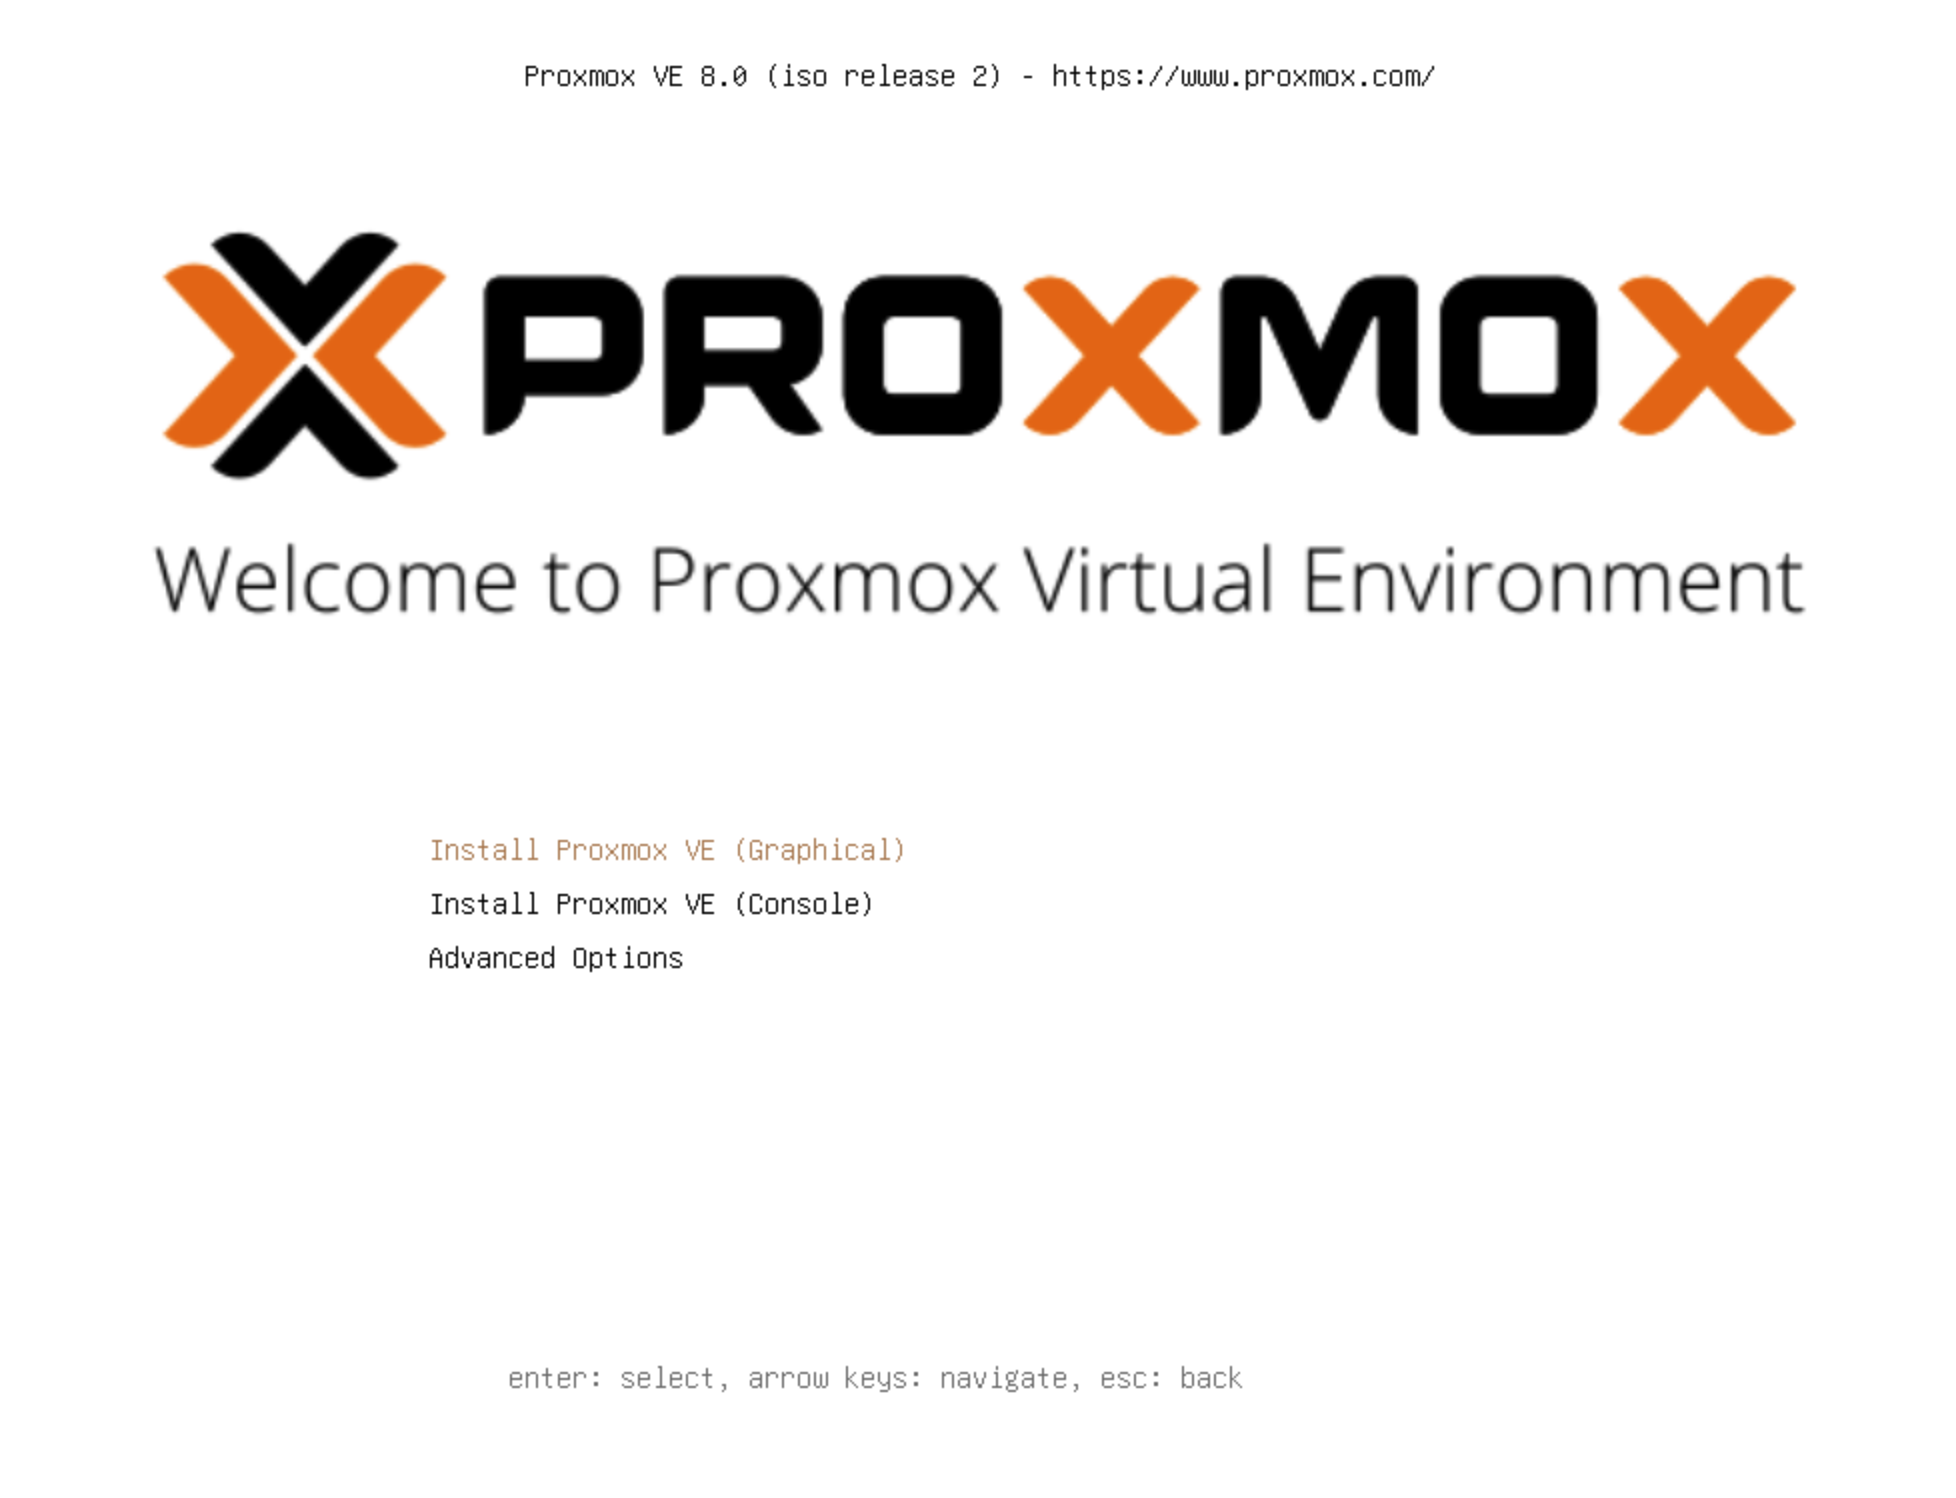
- The Proxmox VE installation wizard appears once the server boots from the installation media.
- Choose your preferred language and press Enter to continue.
- Select
Install Proxmox VE Graphicaland press Enter.
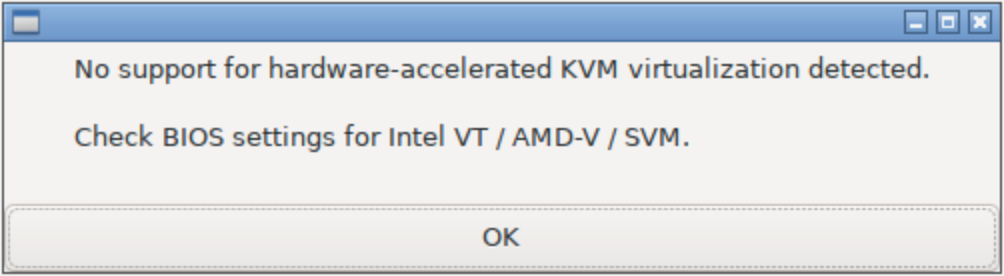
You may see the below error message, if you do go into the BIOS settings of your physical machine and ensure that KVM virtualzation is enabled.
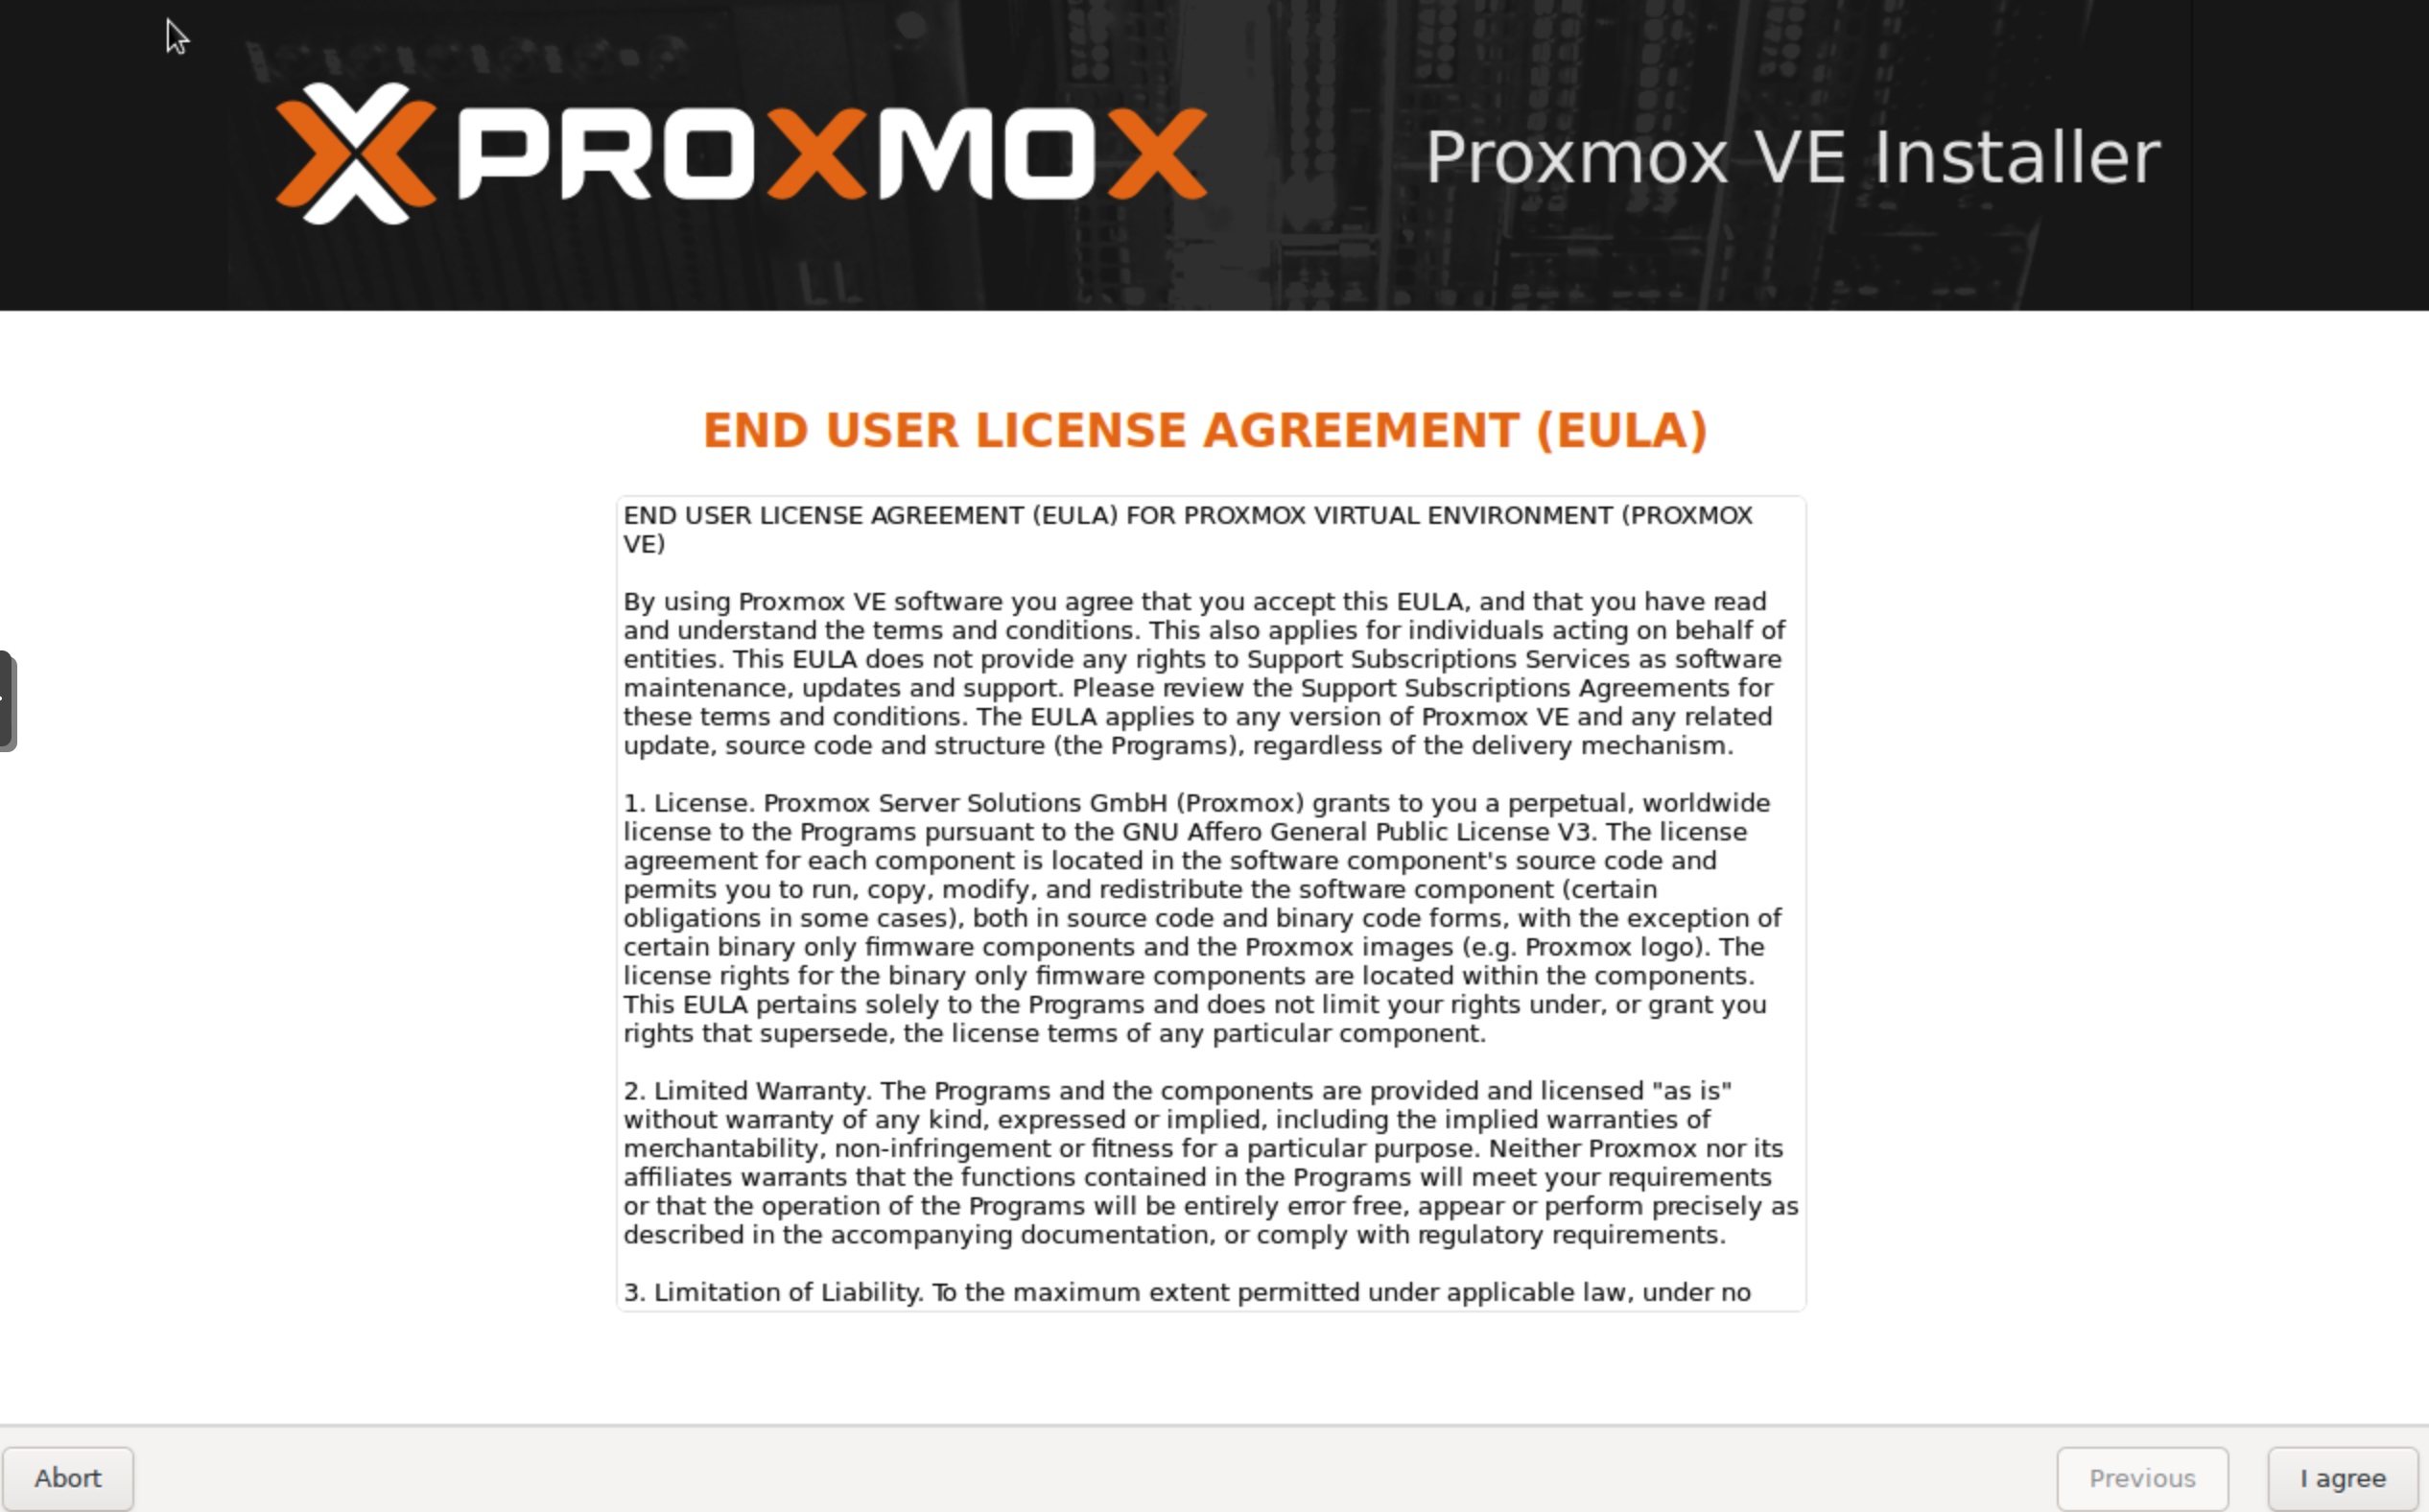
Step 3: Accept the License Agreement
- Read and review the Proxmox VE license agreement.
- If you agree to the terms, select “I accept the terms of the Proxmox Virtual Environment License Agreement” and press
I agree.
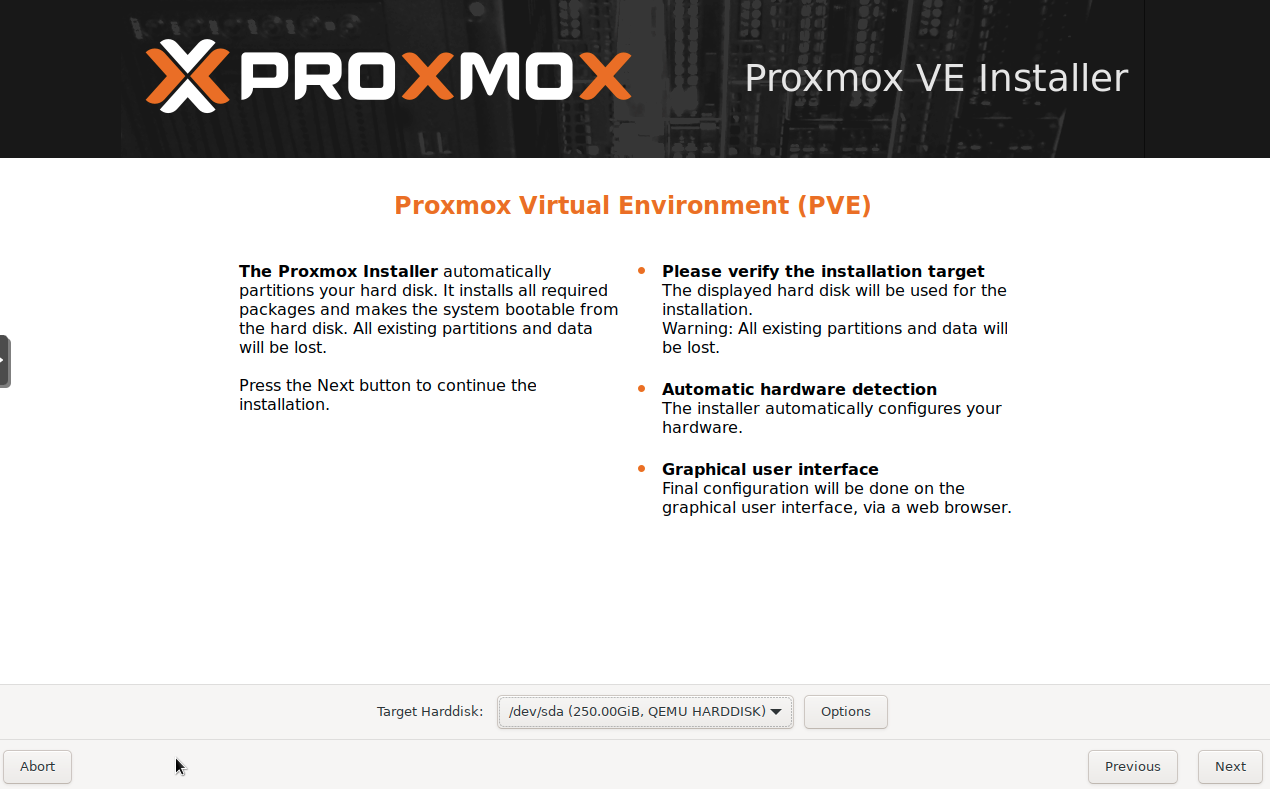
Step 4: Select Target Disk
- The installer will detect the available storage devices on your server.
- Choose the target disk where you want to install Proxmox VE. Be cautious, as this process will erase all data on the selected disk.
- Highlight the desired disk and press
Nextto continue.
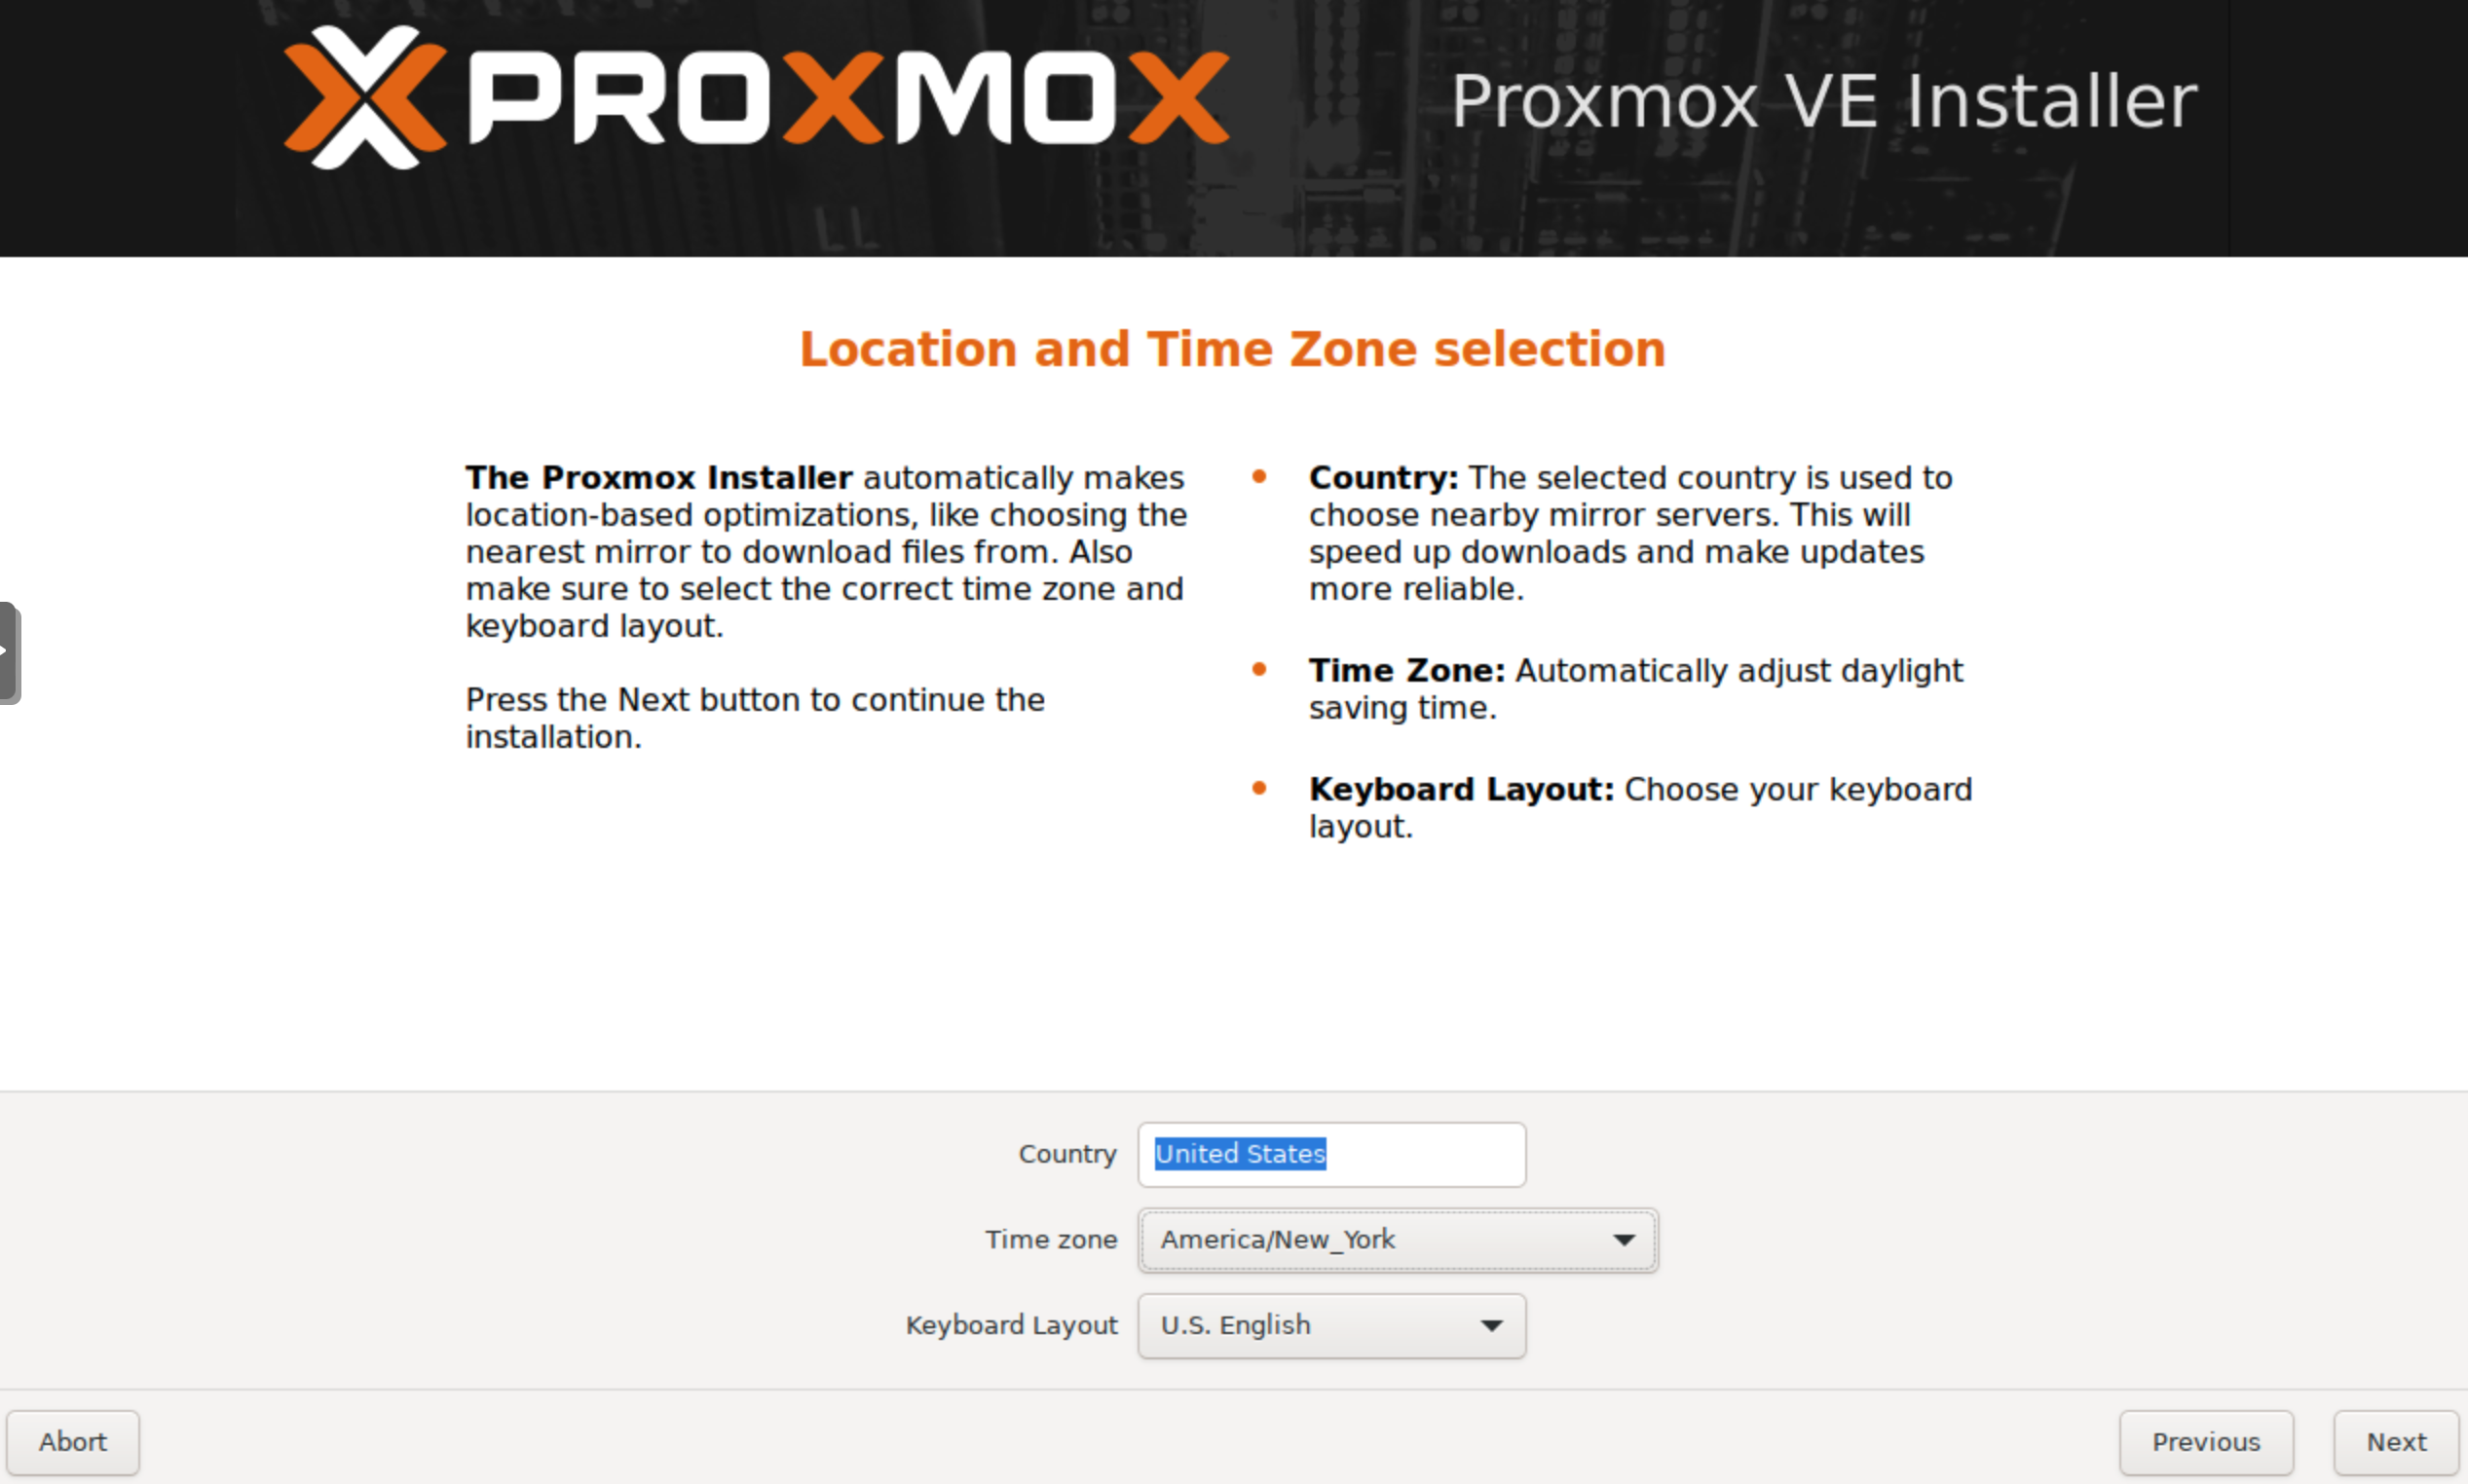
Step 5: Set Location and Time Zone
- Select the desired country, time zone, and keyboard layout
Step 6: Set a Password
- Enter and confirm the root password for your Proxmox VE server. This password is essential for accessing the Proxmox web interface and performing administrative tasks.
- Enter an email address so Proxmox VE can send import alter information sucah as backup failures, etc.
- Click
Nextto proceed.
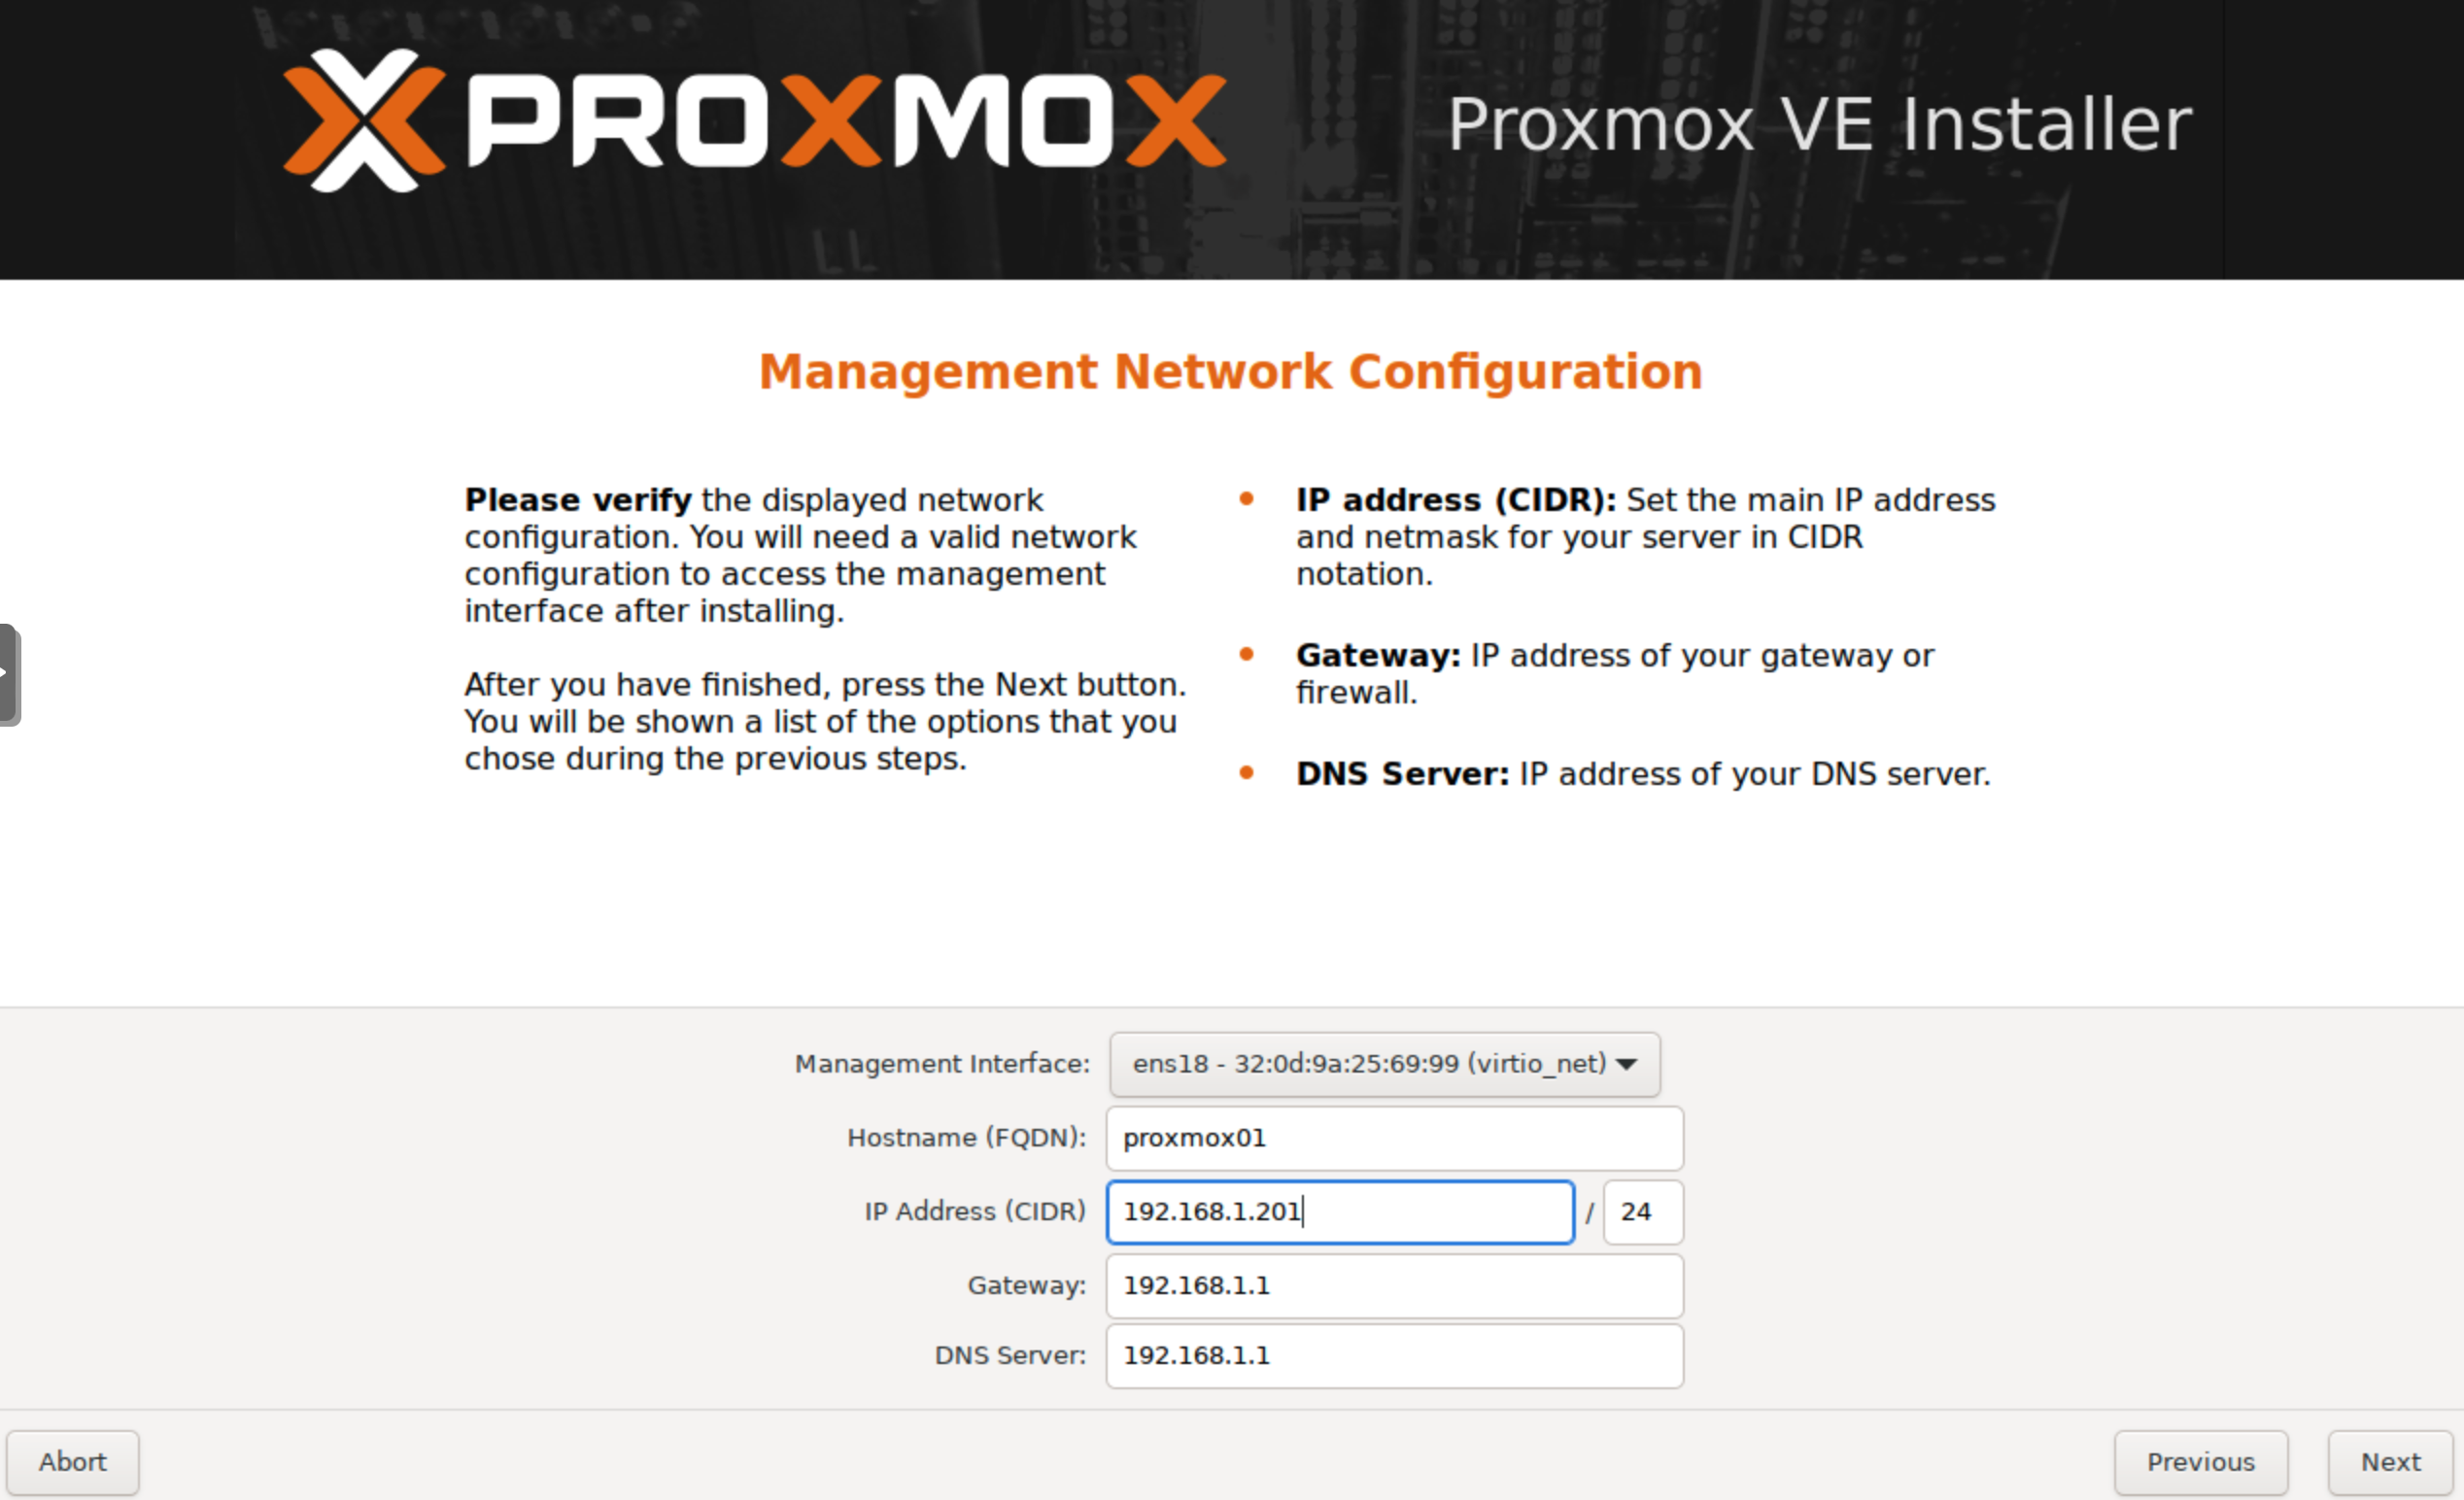
Step 7: Network Configuration
- Configure the network settings for your Proxmox VE server.
- Enter the
Hostname (FQDN),IP Address,Gateway, andDNS Server - Press
Nextto continue
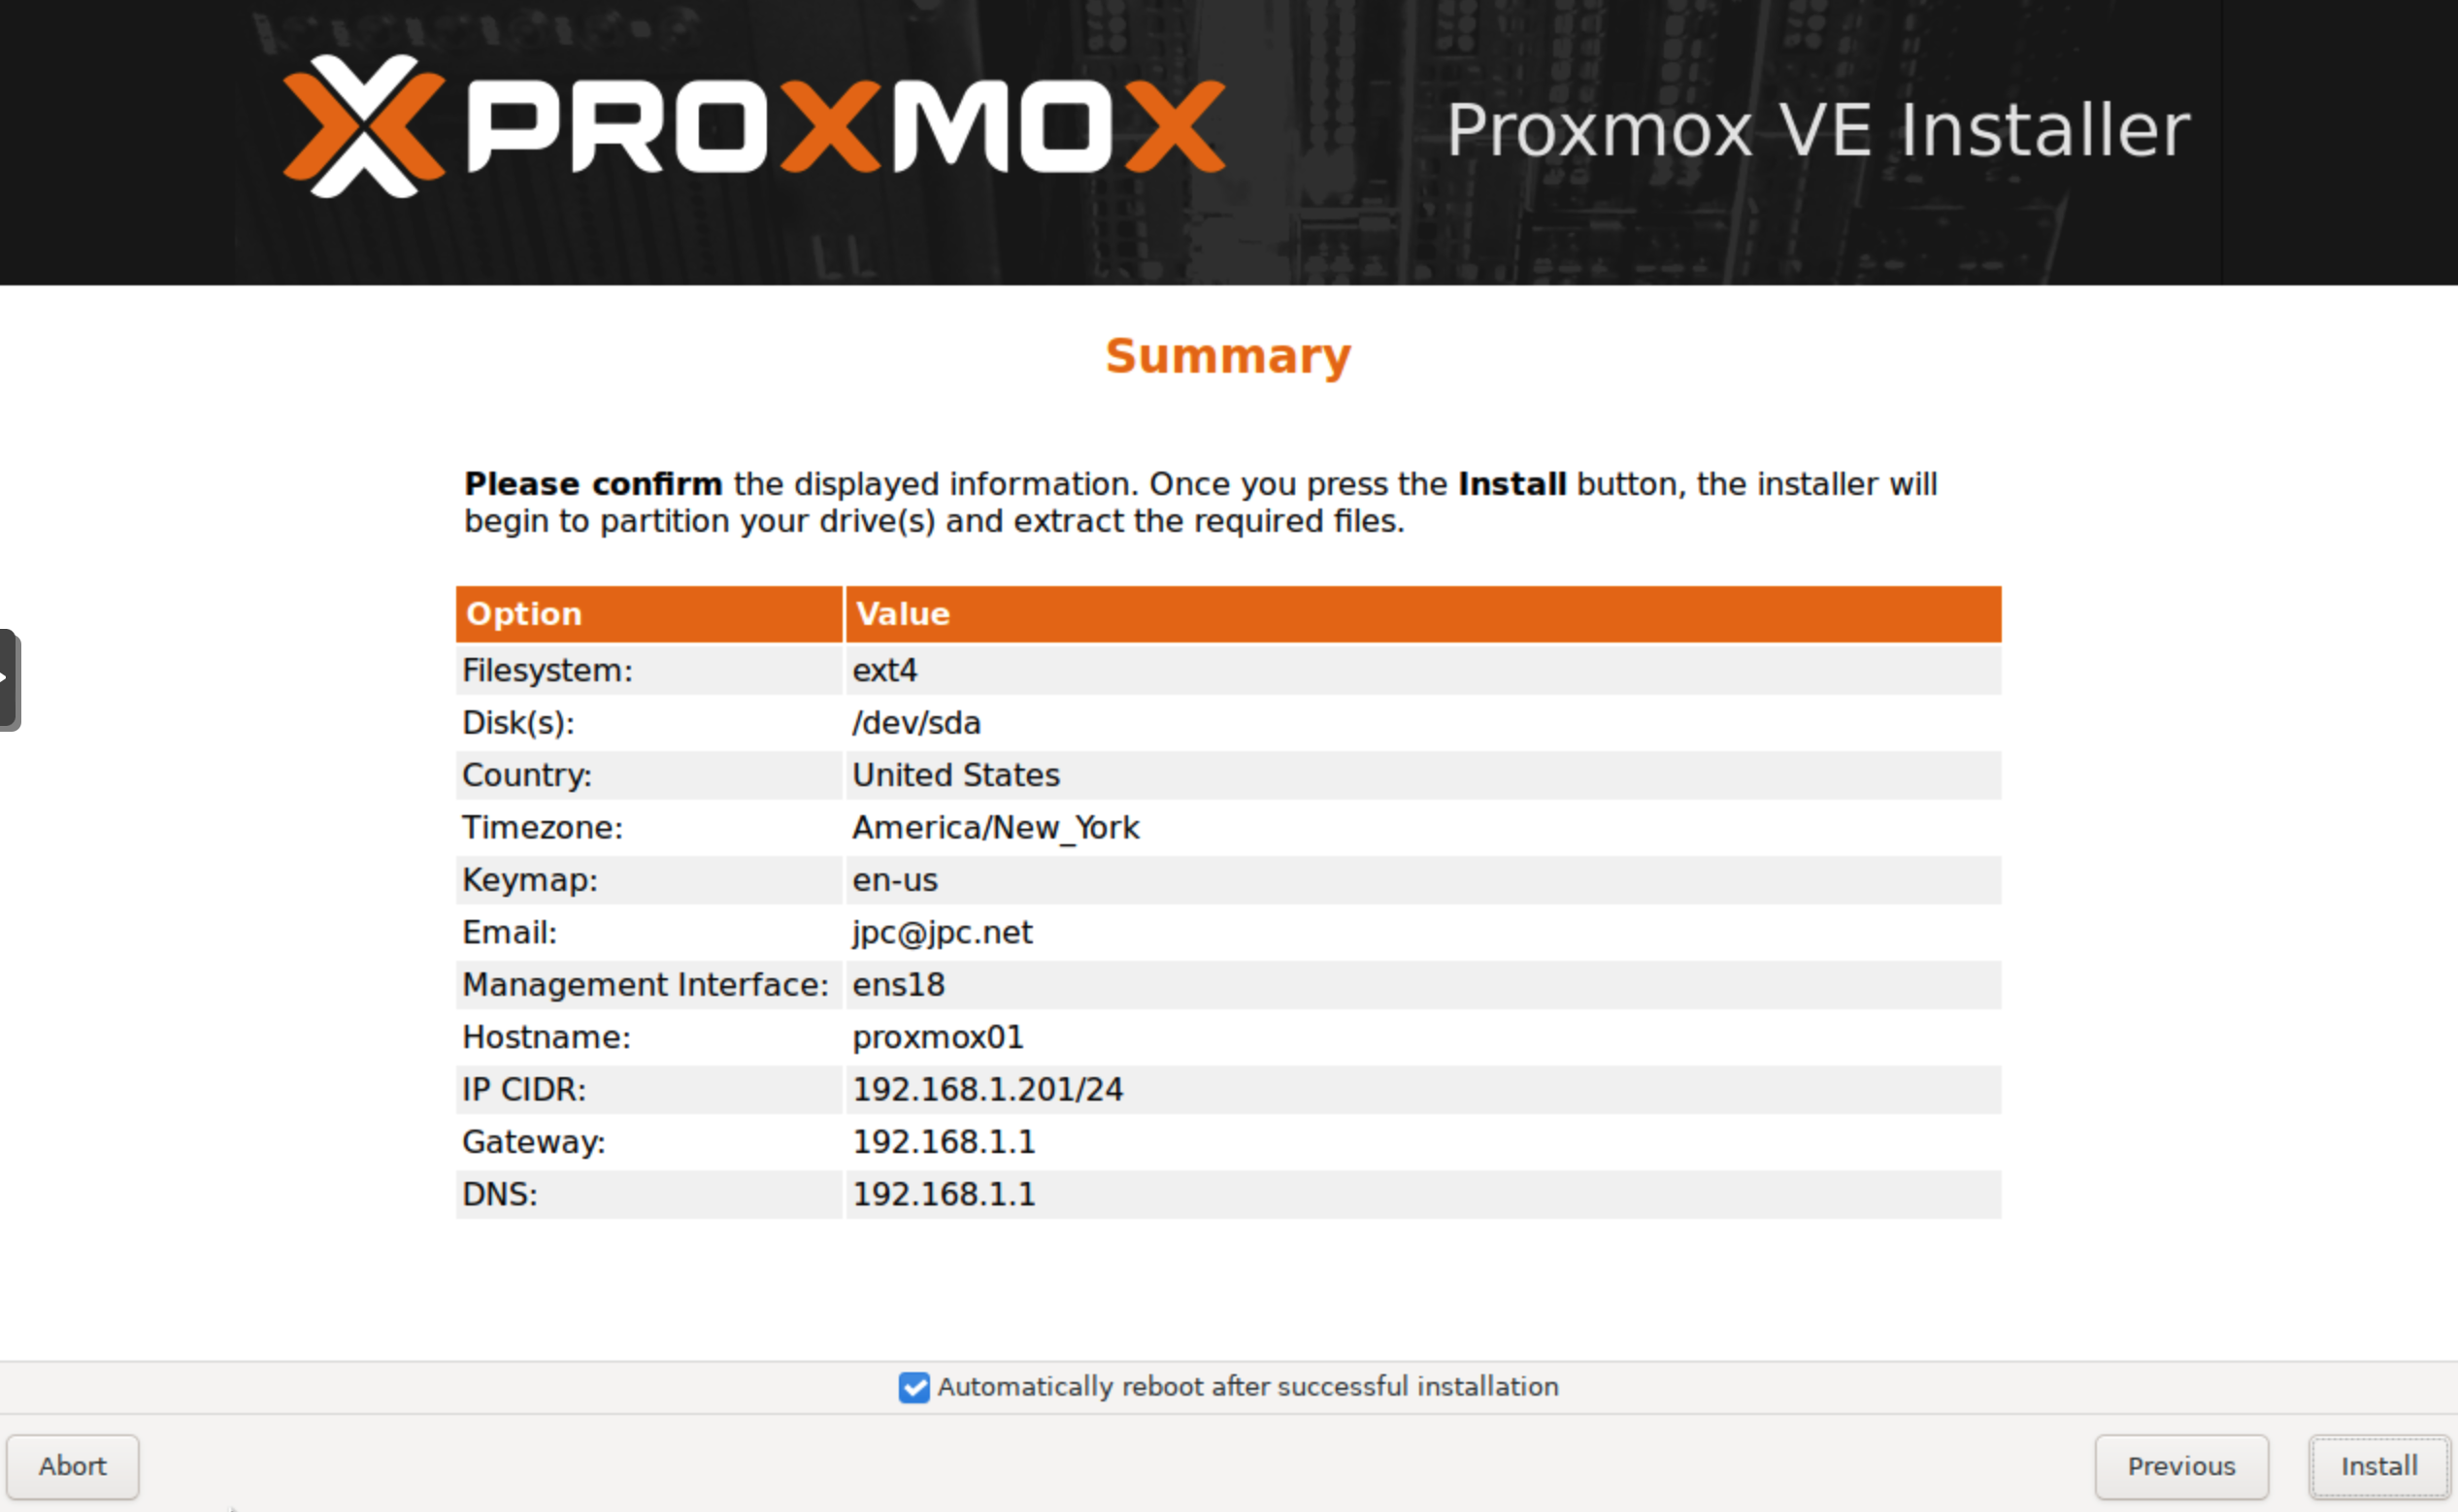
Step 8: Confirm Installation
- Review the installation summary, which displays the installation options you’ve selected.
- If everything looks correct, select
Install.
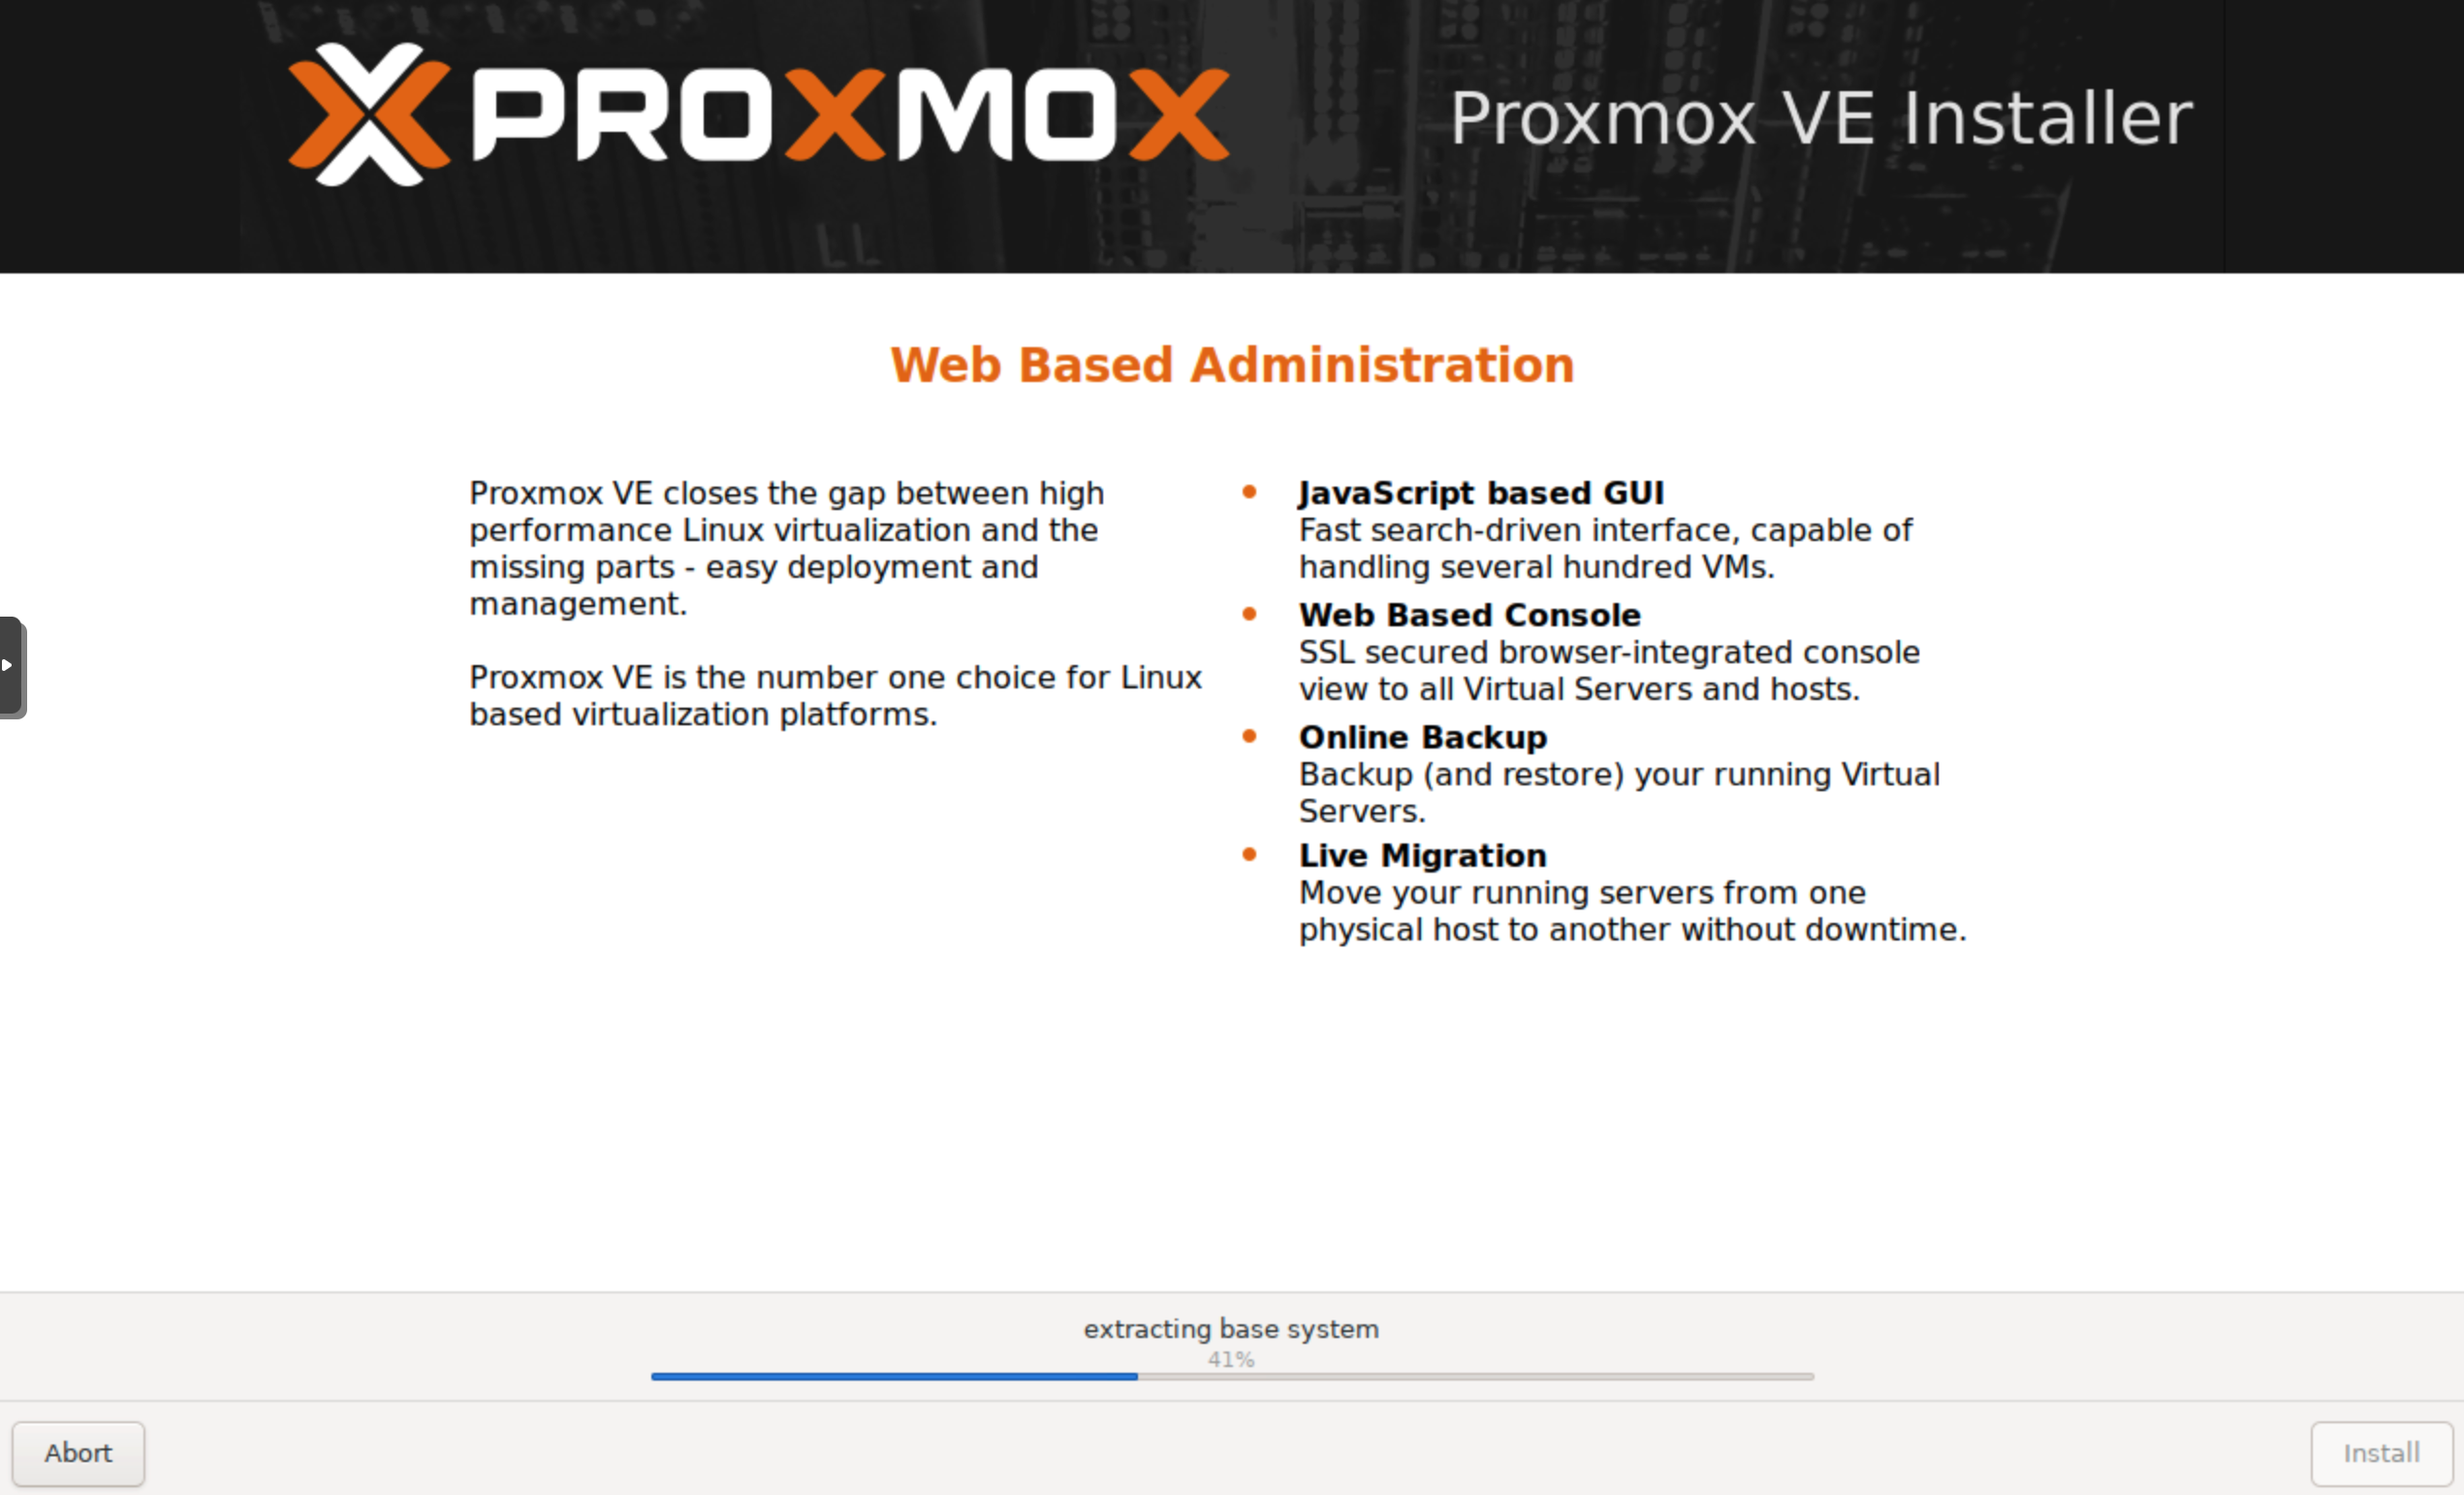
Step 9: Installation Progress
- The Proxmox VE installation process will begin, and you can monitor the progress on the screen.
- After installation, remove the installation media (USB drive or DVD) and reboot the server.
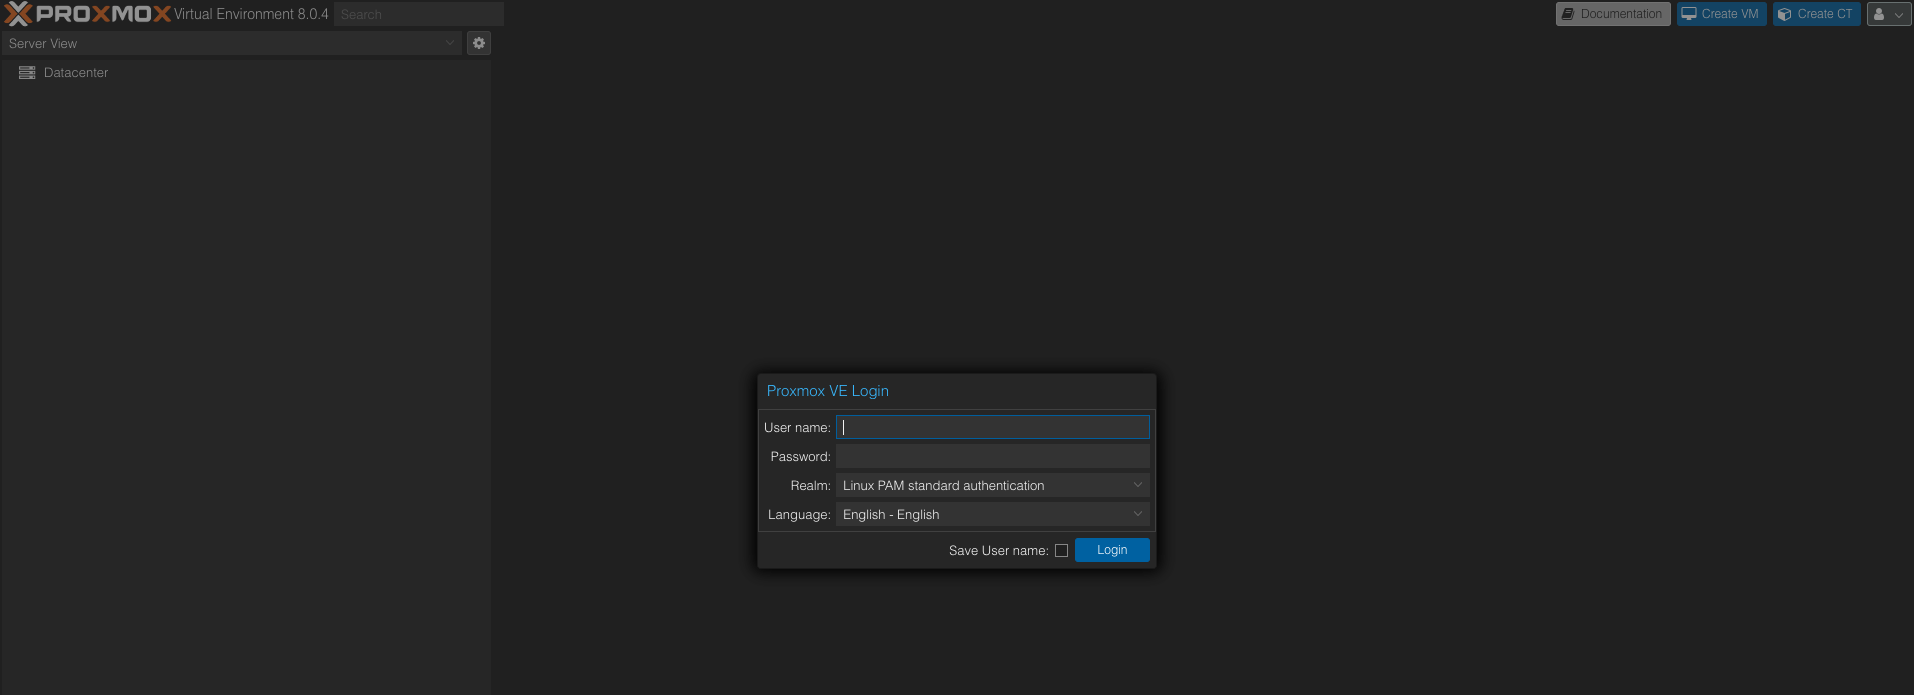
Step 10: Initial Configuration
- After the server reboots, a login prompt will appear.
- Log in using the root username and the password you set during the installation.
- Proxmox VE is now installed on your bare-metal machine. Access the web-based management interface by opening a web browser and entering the following URL:
https://<your-server-ip>:8006. Replace<your-server-ip>with the IP address you configured during the installation. - Log in with the root username and password to begin configuring and managing your Proxmox VE server.
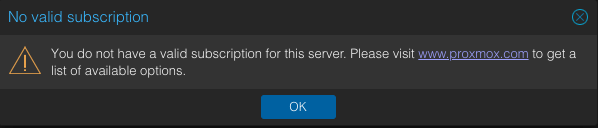
Upon login, you may see a No valid subscription pop-up box. You can either ignore the message and just click OK every time you login, or remove the message by following these instructions.
Congratulations! You’ve successfully installed Proxmox VE on a bare-metal machine. You can now create virtual machines, containers, and manage your virtualization environment using the powerful Proxmox VE interface.
This guide has covered the installation process for Proxmox VE on a bare-metal server. Proxmox VE offers a feature-rich virtualization platform suitable for a wide range of applications, from hosting virtual machines to creating scalable cloud environments. Enjoy harnessing the power of Proxmox VE for your virtualization needs!
📝 For more information about Proxmox, visit the Proxmox VE Documentation Index.