Creating a Bootable USB Drive Using balenaEtcher
A bootable USB drive is an essential tool for installing operating systems, flashing firmware, and performing various system recovery tasks. In this blog post, we will guide you through the process of creating a bootable USB drive using balenaEtcher, a user-friendly and cross-platform tool. Let’s get started!
Prerequisites
Before we begin, ensure you have the following:
- A USB drive with sufficient capacity to hold the data of the bootable image.
- Access to a computer with access to the internet to download balenaEtcher.
Steps to Create a Bootable USB Drive
Follow these simple steps to create a bootable USB drive using balenaEtcher:
- Download and Install balenaEtcher: Visit the balenaEtcher website at https://www.balena.io/etcher/ and download the appropriate version of balenaEtcher for your operating system. Install balenaEtcher on your computer by following the on-screen instructions.
- Download the Bootable Image: Obtain the bootable image (ISO or IMG file) for the operating system or firmware you want to create a bootable USB drive for. You can download the image from the official website of the respective project or the distribution you are interested in.
- Insert the USB Drive: Insert the USB drive into an available USB port on your computer. Ensure that there is no valuable data on the USB drive, as the process will erase all existing data.
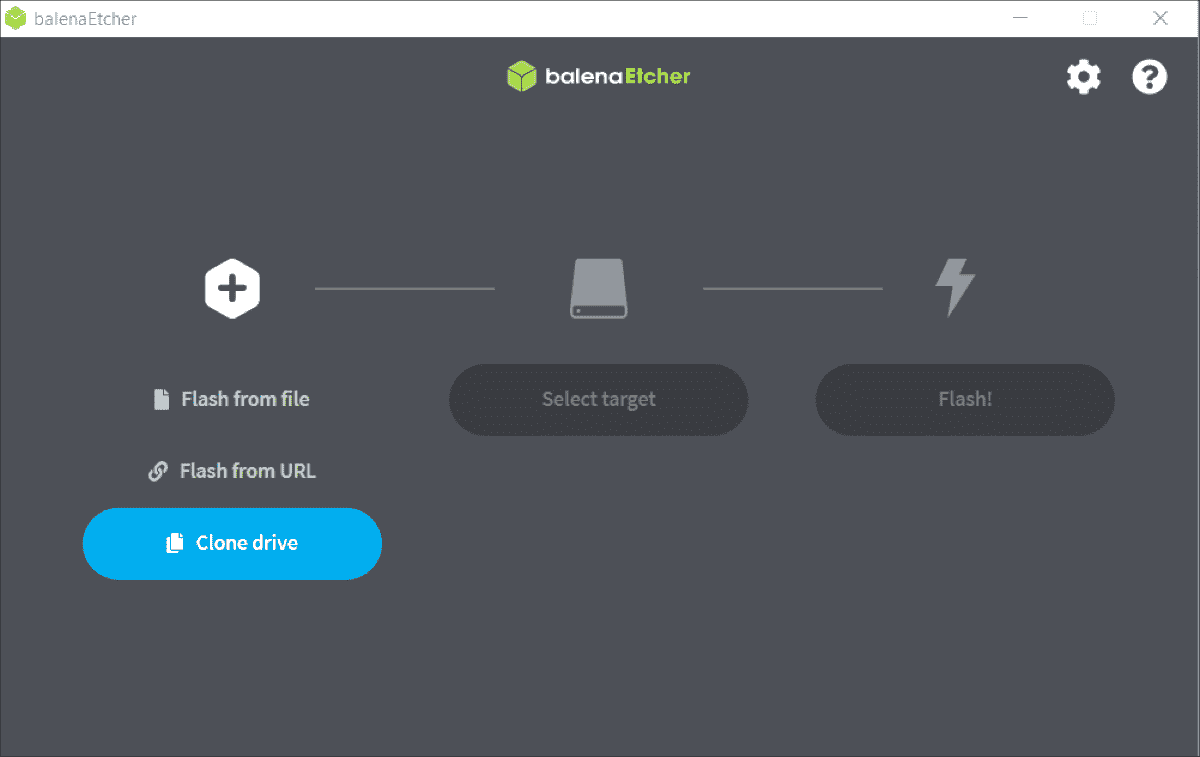
- Launch balenaEtcher: Open balenaEtcher on your computer. Depending on your operating system, you may need to provide administrative privileges to run the application.
- Select the Bootable Image: In balenaEtcher, click on the “Select image” button and navigate to the location where you downloaded the bootable image. Select the image file.
- Choose the USB Drive: Click on the “Select drive” button and choose the USB drive you inserted earlier from the list of available drives.
- Start the Flashing Process: Double-check that you have selected the correct bootable image and USB drive. Once you are certain, click on the “Flash!” button to start the flashing process.
- Wait for the Process to Complete: The flashing process may take some time, depending on the size of the bootable image and the speed of your USB drive. Wait for balenaEtcher to complete the process.
- Eject the USB Drive: Once the flashing process is done, balenaEtcher will automatically eject the USB drive. You now have a bootable USB drive ready for use!
Rufus is an alternative application that will allow you to create a bootable USB drive.
Conclusion
Congratulations! You have successfully created a bootable USB drive using balenaEtcher. This versatile tool simplifies the process of creating bootable USB drives, making it easier for you to install operating systems and perform various system tasks.
For more informative articles and tech-related content, visit our blog.